Hardware
Mini Mac Classic
A Raspberry Pi Zero 2W inside a miniature Macintosh shell, running an emulated Mac II under System 7.1. Not an emulator on a Pi in a case. It boots straight into the OS, dims from a physical dial, and never shows you Linux.
Overview
A Macintosh that fits in your hand and actually boots
The machine is a Raspberry Pi Zero 2W running minivmac against a Mac II ROM, booting directly into System 7.1 inside a miniature Macintosh shell. Raspberry Pi OS sits underneath it with labwc in place of a desktop environment.
The goal was never an emulator on a Pi in a case. It had to feel like a real vintage machine, which meant instant boot into the OS, a physical brightness dial, real shutdown and reboot buttons, clean audio, and no visible Linux anywhere. Almost every component in that list fought back at least once, and those fights turned out to be the actual project.
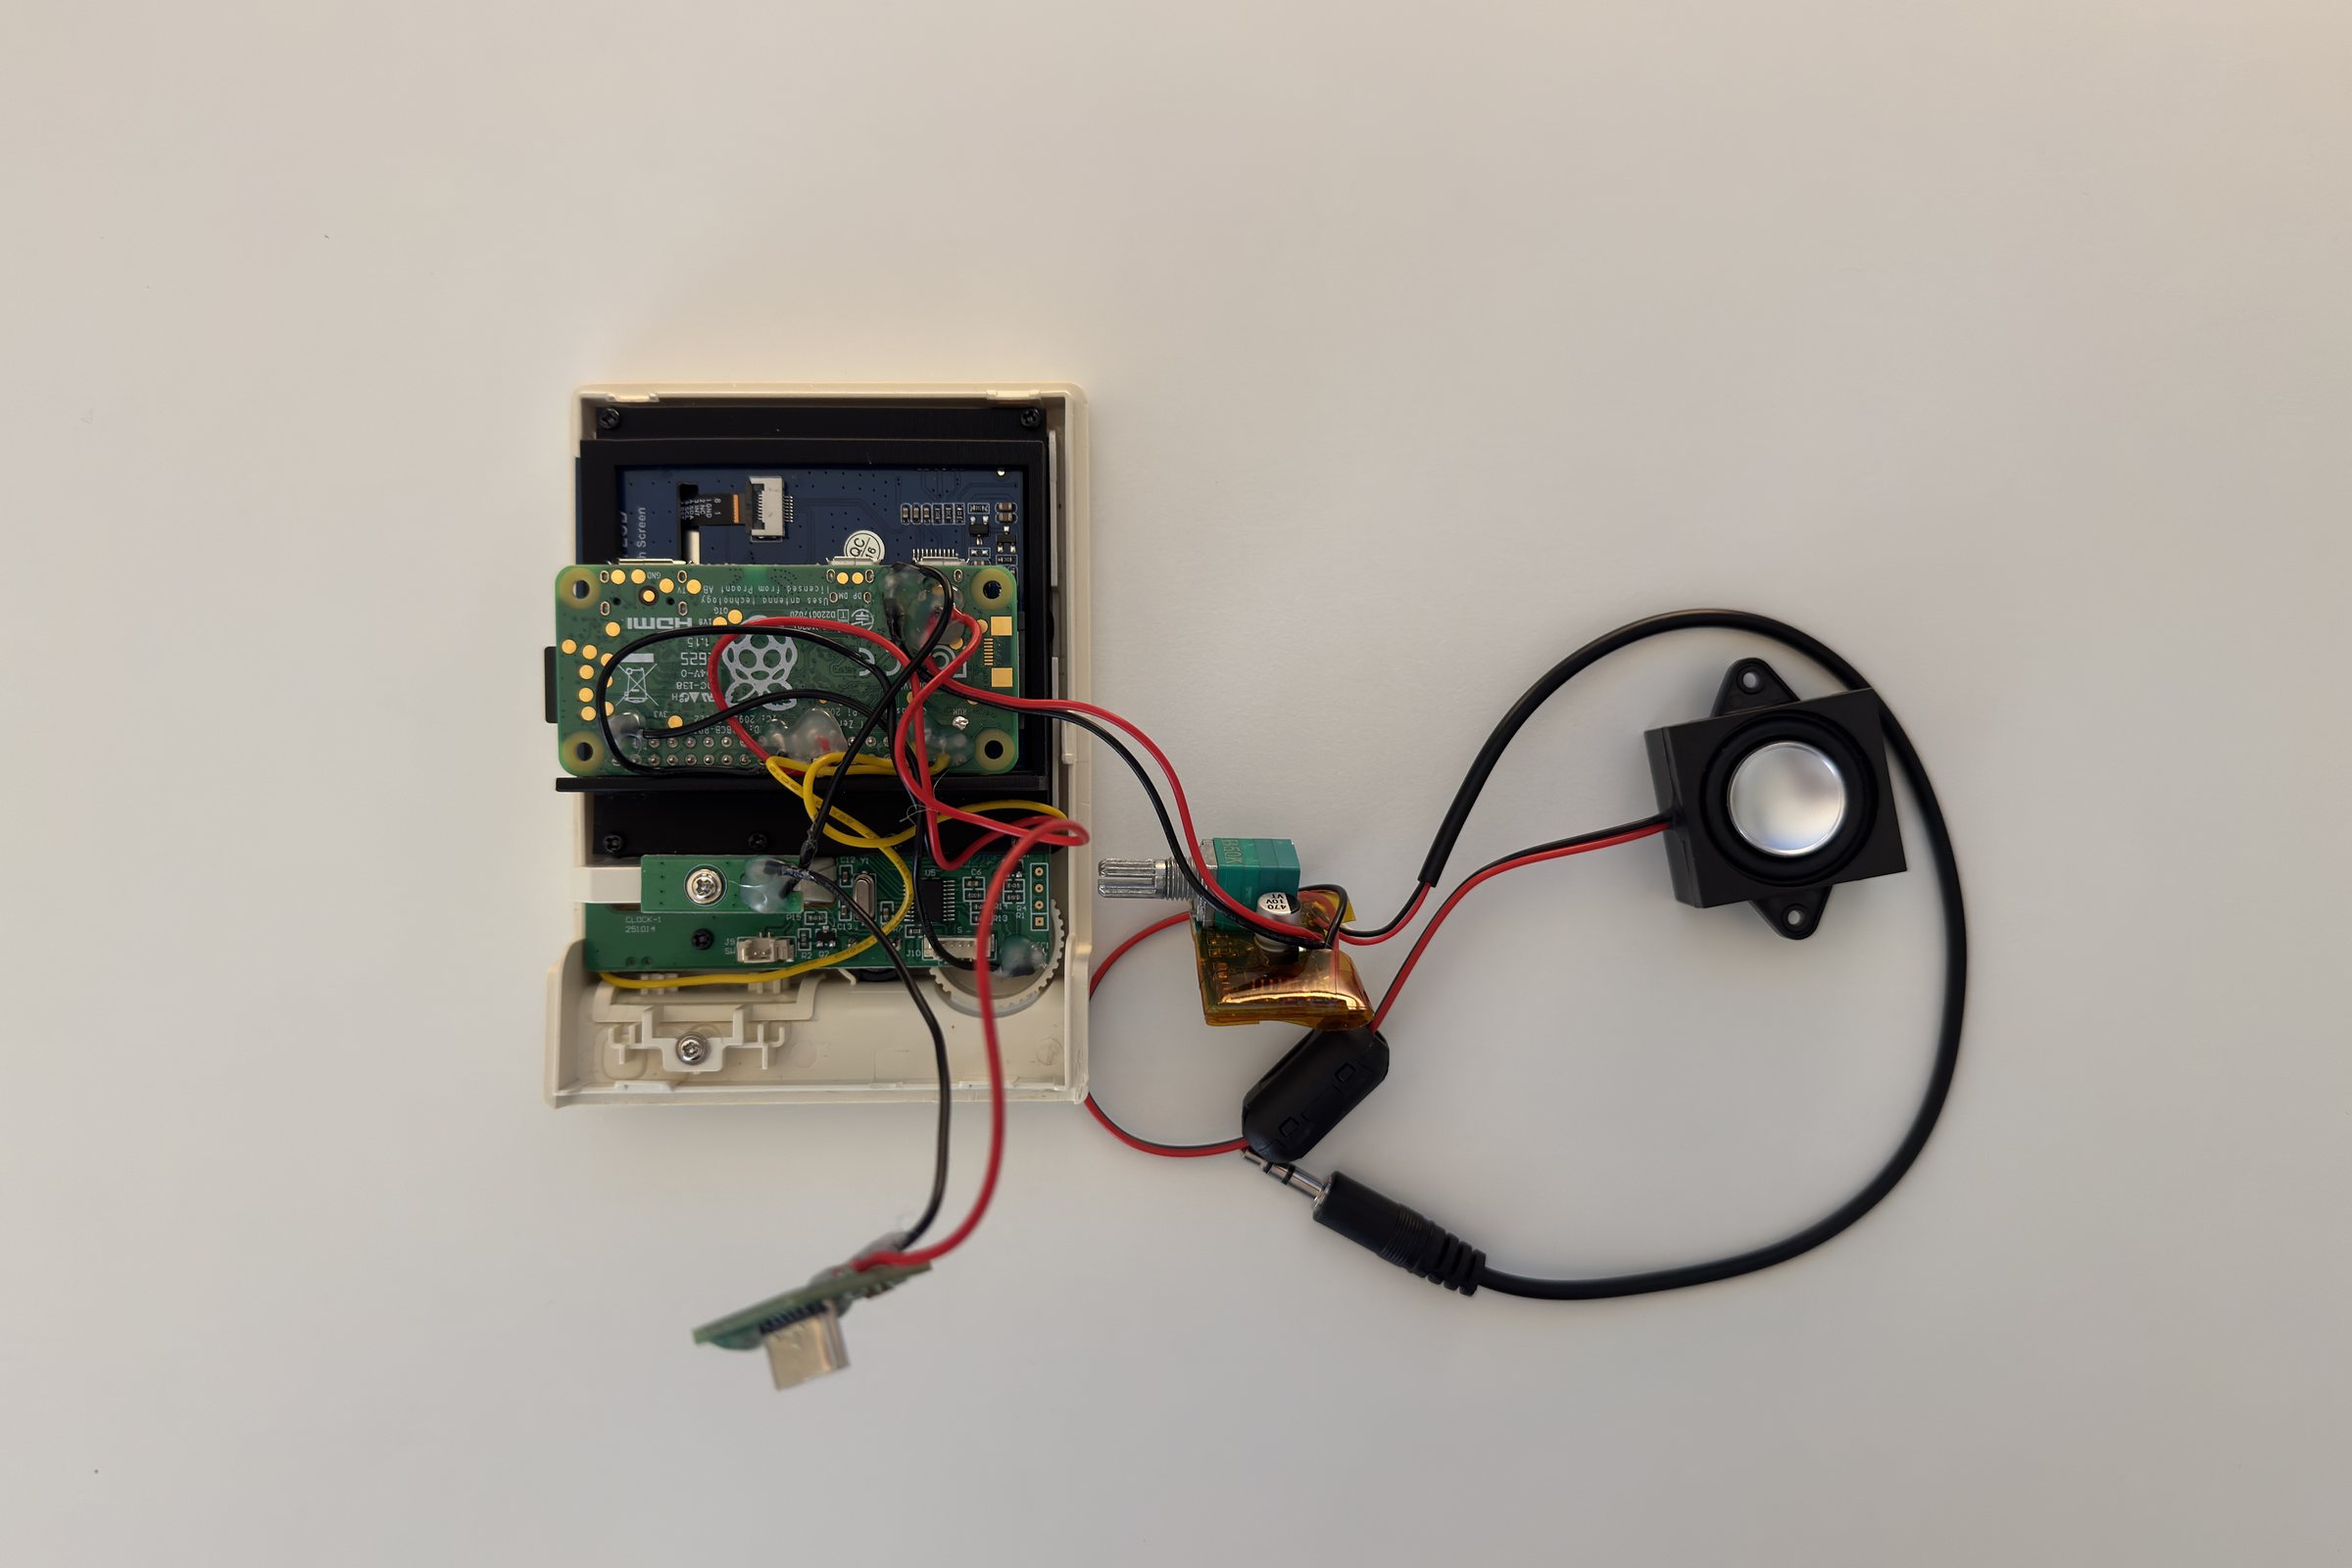
- Raspberry Pi Zero 2W
- Runs minivmac and everything underneath it
- Waveshare 2.8" DPI LCD
- The display, wired over DPI rather than HDMI
- Mac Classic shell and glass panel
- The enclosure, with the glass kept in front of the display
- Custom display bracket
- Drawn in TinkerCAD, printed across three revisions
- MakerSpot Micro USB OTG hub
- Carries the audio adapter and a mouse, so sound depends on it
- UGREEN USB audio dongle
- The sound card minivmac reaches through ALSA
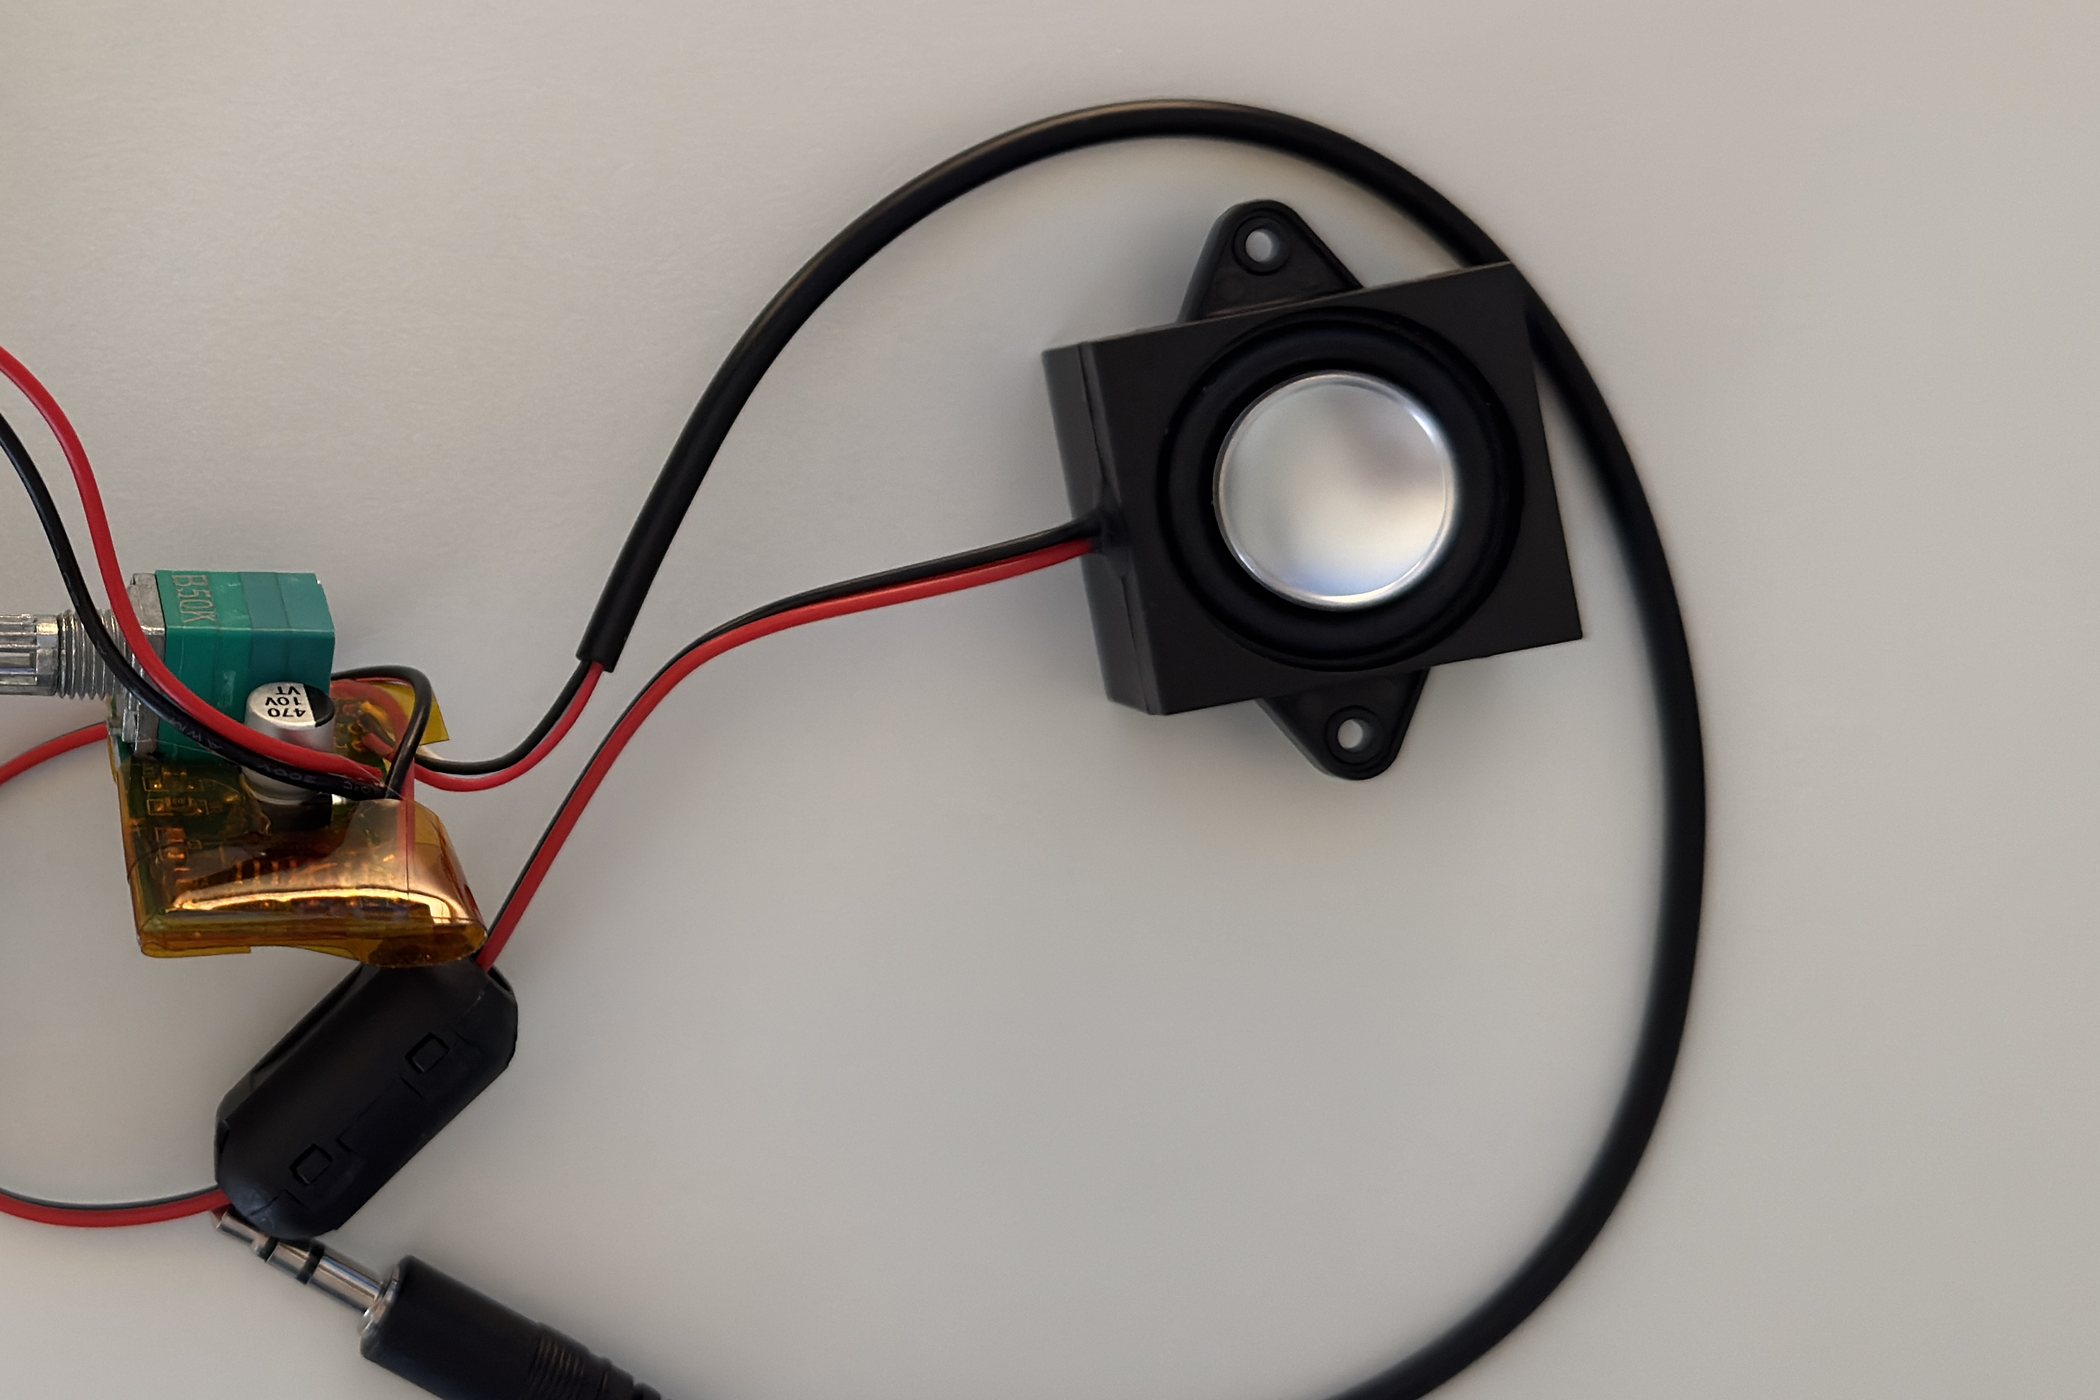
- PAM8403 amplifier
- Drives the speaker, and the source of the hum
- DW-0820 speaker
- A single driver, which is why the output folds to mono
- Rotary encoder
- Brightness, on two GPIO pins driving the backlight over PWM
- Two GPIO buttons
- Shutdown and reboot
Built over SSH, not at a desk
The machine was almost never attached to a keyboard. Around 98% of the software work was bash over SSH: compiling the emulator, hand-writing config files, tracing GPIO pins, rewriting the boot sequence. A VPN kept the Pi reachable when I wasn't on its network, and FTP carried disk images, ROM files, and theme assets on and off it.
Getting the small details right
There is no single hard part to point at. The difficulty is spread across a long run of small ones: an ALSA config written by hand, a reboot script assuming an account that wasn't there, a vertical resolution tuned until the bezel stopped clipping the image, boot artwork pre-rotated to match a panel that wouldn't turn. Whether it reads as a real machine depends entirely on how many of those got chased down.
Emulation
Learning an emulator from zero
minivmac ships as source, so it had to be compiled for the Pi before anything could run. It then boots from a disk image you build yourself, out of several virtual floppy images. That part is straightforward once you know how it works. Getting to that point, with no prior experience of minivmac and none of early Mac OS either, took the longest.
Much of the software for that process is still archived as .sit StuffIt files, and those became a problem of their own. Some wouldn't extract on a modern machine and some needed older tools entirely, so I ended up moving between three environments depending on the archive: a modern PC, my G4 iMac, and an extractor running inside minivmac itself. No single tool handled everything, and working out which environment could open a given file became part of the workflow.
The chime and the color are one decision
Emulating an original 128K Mac gets the iconic single startup dong, but only in black and white. A Mac II gets full color under System 7.1 and trades that dong for the Mac II chord. The sound and the hardware generation are tied together, so there is no picking and choosing.
Color won
I took the Mac II ROM and treated the different chord as part of the machine's identity rather than something to hide. A color System 7.1 desktop is what people actually recognize when they look at the screen.
Enclosure
Redesigning the bracket around glass and hardware
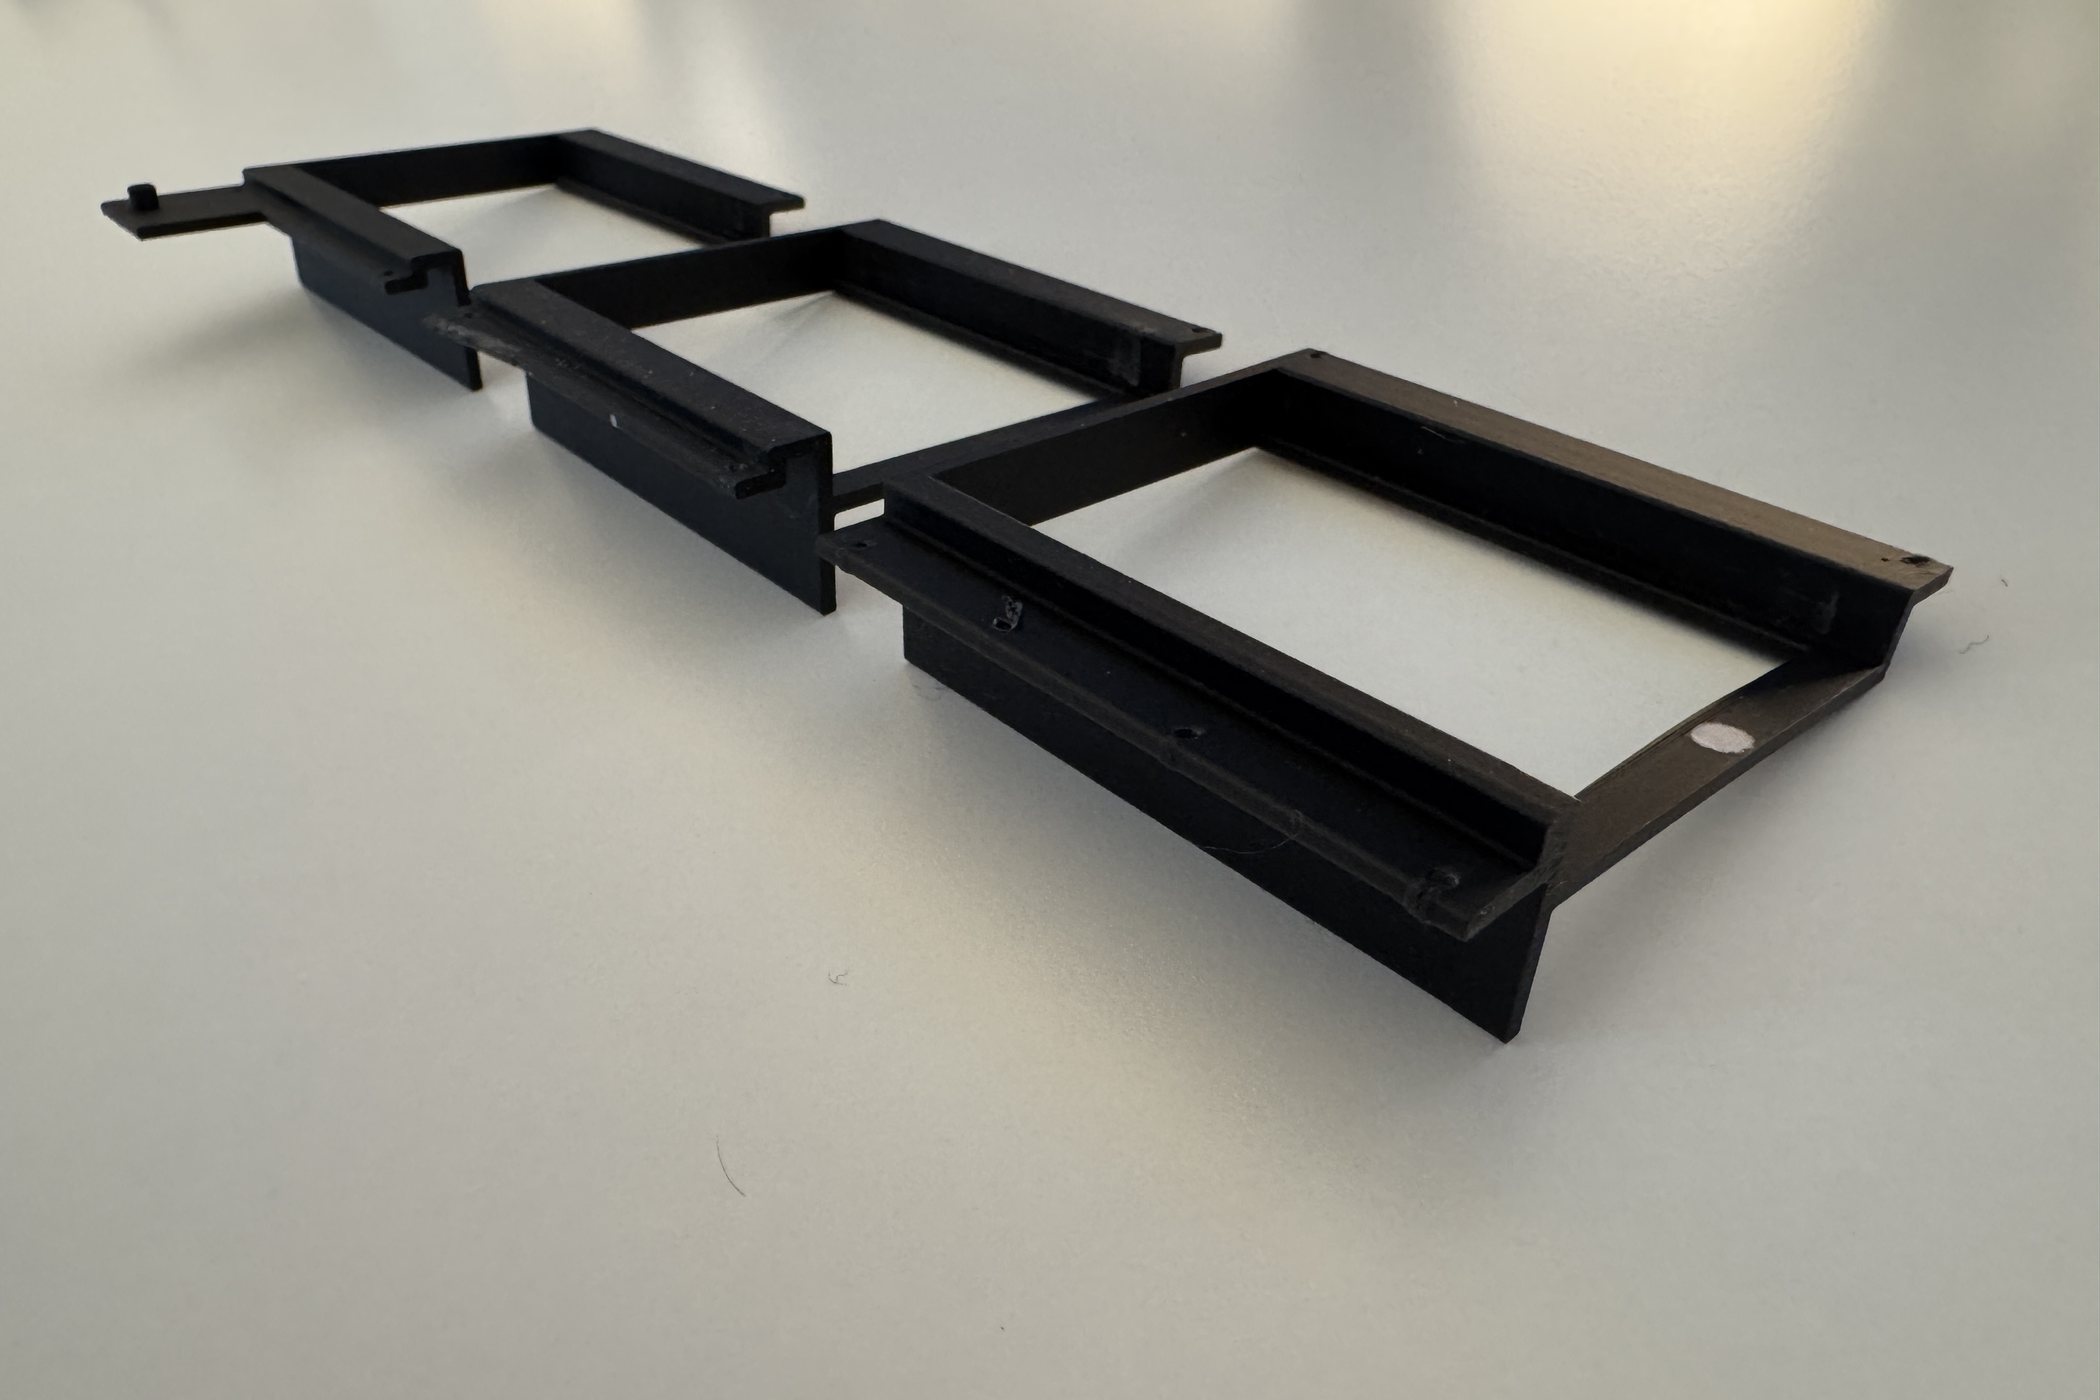
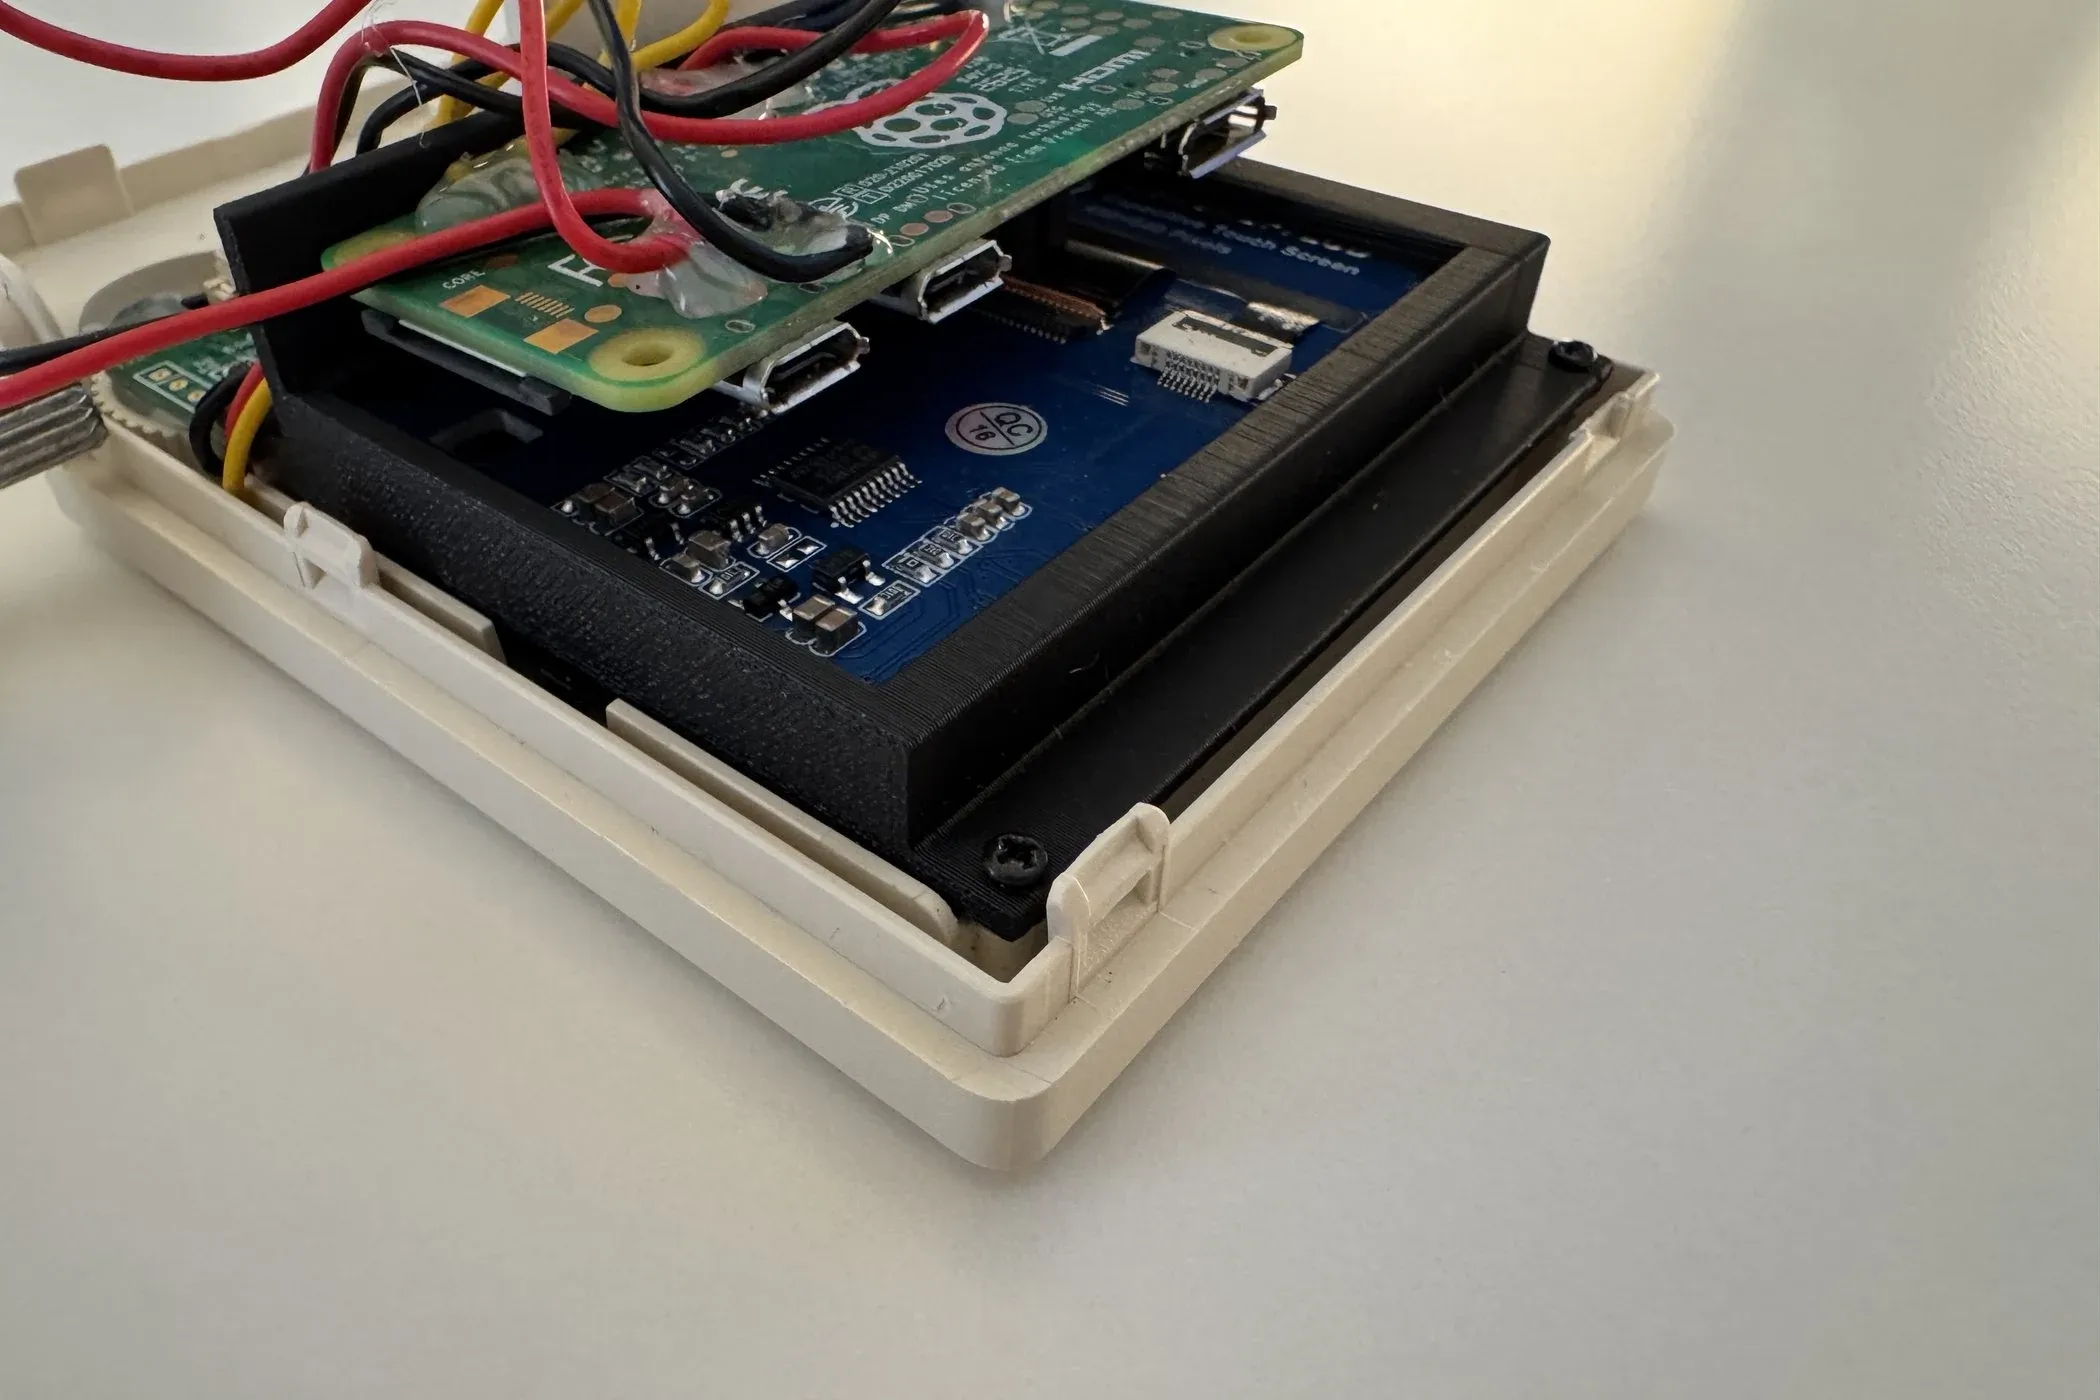
The bracket started from ThisDoesNotCompute's design, and I wanted to keep the glass front panel over the display. It's a small thing that does most of the work in making the screen read as authentic instead of a bare LCD bolted into a shell.
Committing to a working dimmer was the harder route, and it decided the bracket. The original design carried more than the display, and there was no longer room for the encoder and the front-panel buttons alongside it. So the bracket had to be redrawn in TinkerCAD to hold the display and nothing else, while still keeping the glass in front of the panel. Three revisions to get the fit right, with Gerry Gonzalez printing every one.
The display never rotated
Rotating the panel at the driver level was a fight I couldn't win cleanly, so I worked around it. The loading bar is repositioned and the boot images are rotated to match, so everything reads correctly once mounted while the display underneath still runs in its native orientation.
The bezel crops the image
The Mac Classic shell curves in front of the panel. I tuned minivmac's vertical resolution down until the image cleared that curve instead of disappearing behind it.
Controls
Physical inputs that had to actually work
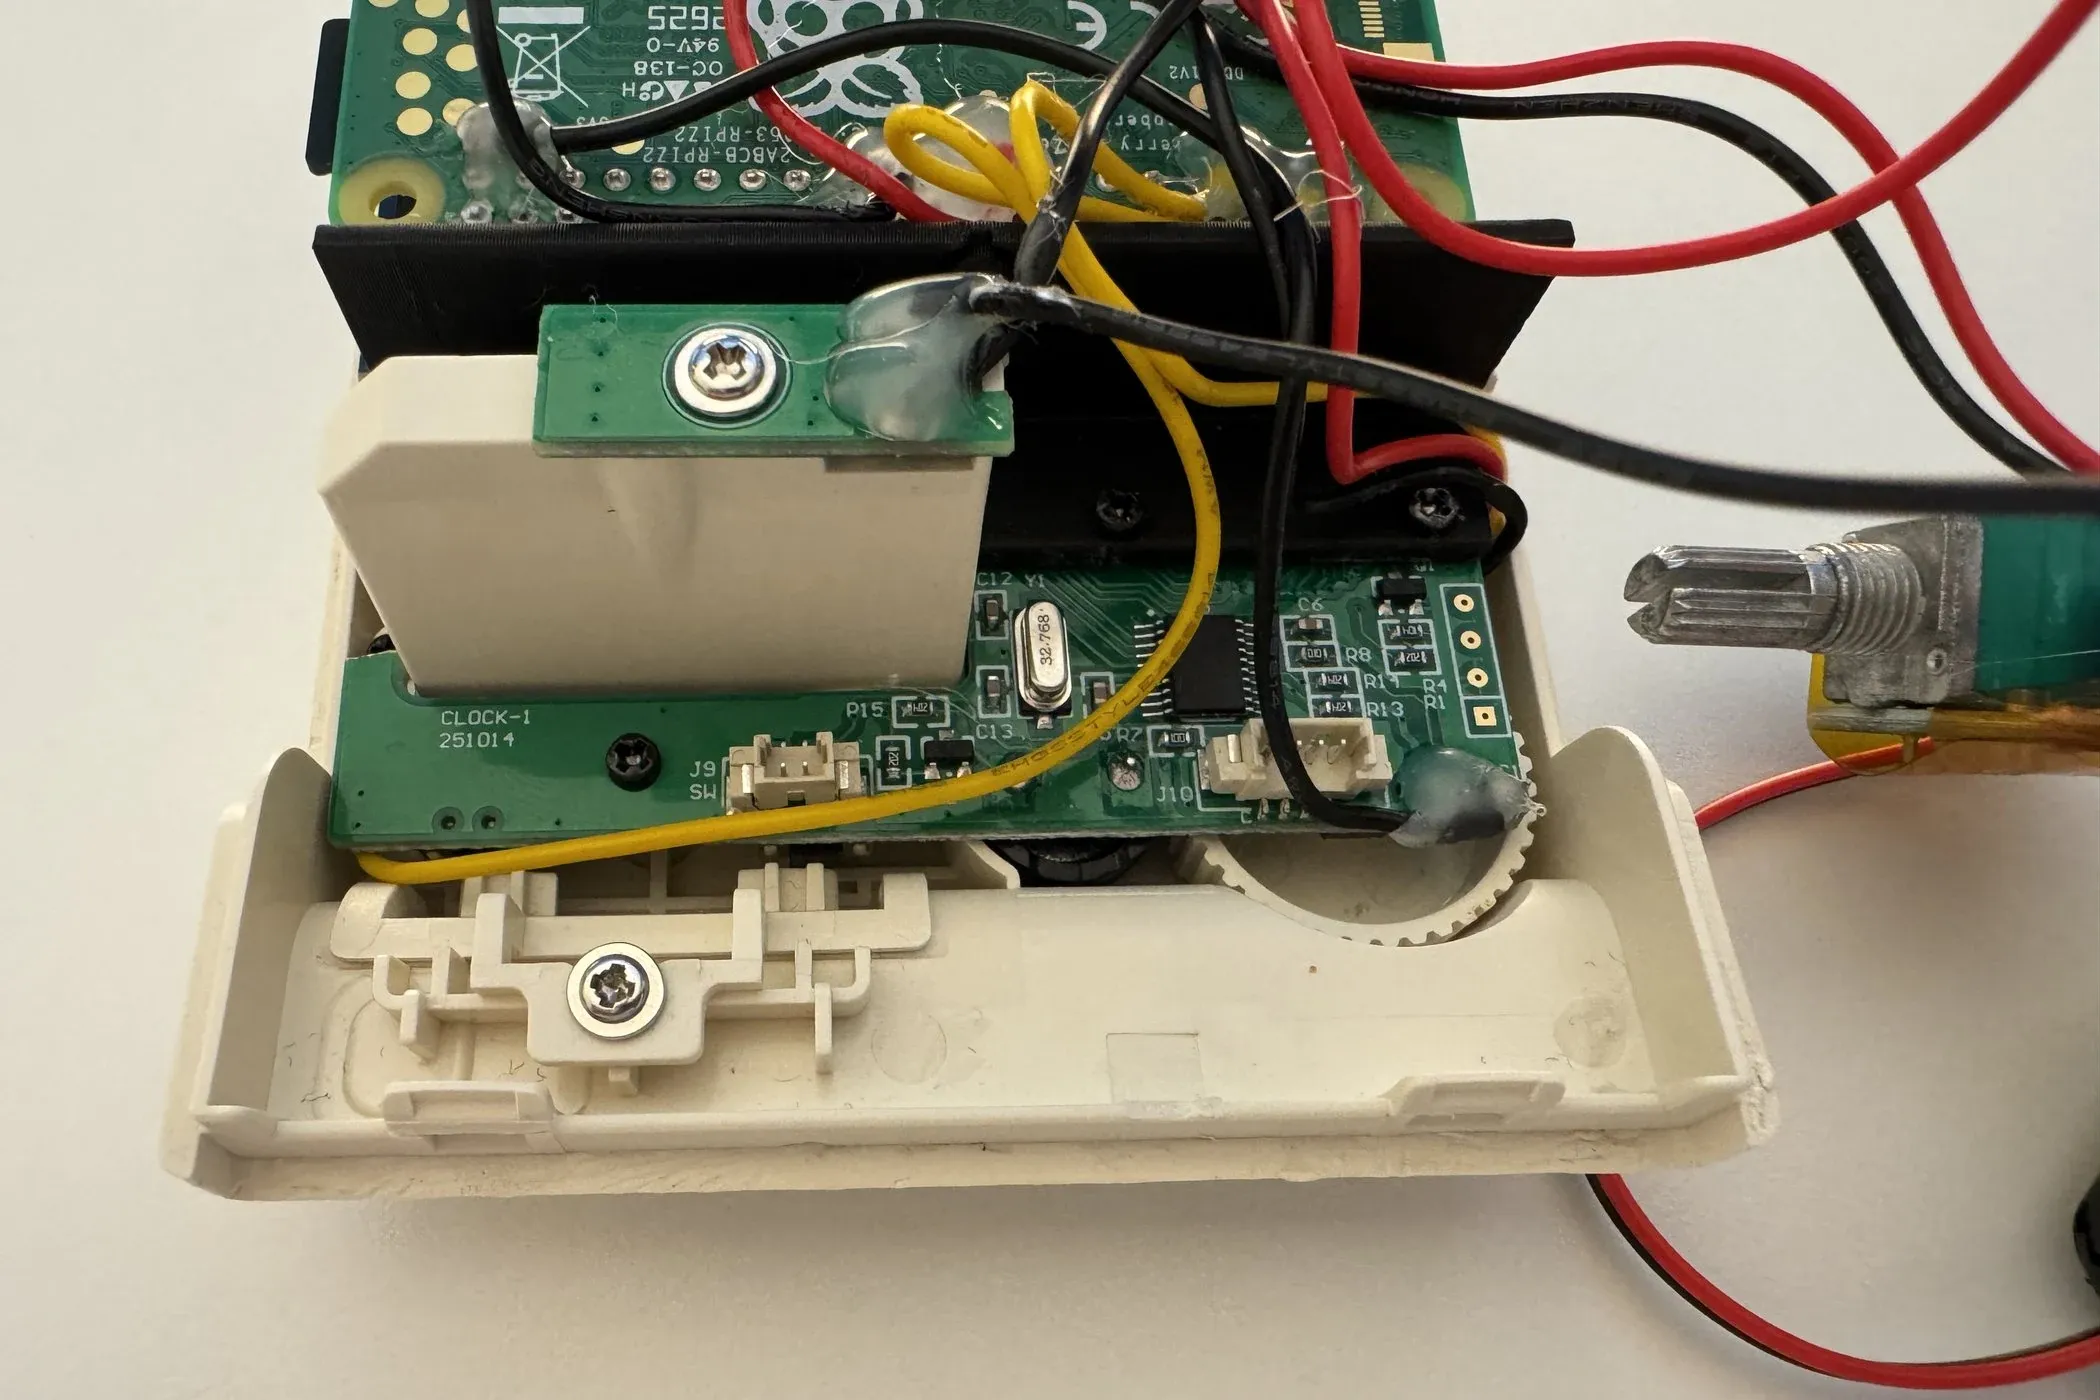
The dimmer and the front-panel buttons both started from code Sideburn shared. I wanted a tactile way to dim the screen rather than a setting buried in a menu: a rotary encoder wired to two GPIO pins, read continuously by pigpio, driving the backlight over PWM.
Making the encoder behave meant a glitch filter on both pins and getting the direction logic right, so one way reliably brightens and the other reliably dims without the reading jittering back and forth on every detent.
A silent failure with no error to chase
The reboot script assumed a user account my Pi didn't have, so pressing the button did nothing at all. Nothing crashed and nothing logged, which is what makes this kind of fault slow: there is nothing to read, just a button that does nothing.
Confirm the wiring, then change one line
I went pin by pin to confirm what each GPIO was physically connected to, then swapped the reboot call for a plain subprocess.run(["sudo", "reboot"]). A small change, but only reachable after tracing the original assumption back to the hardware.
Audio
Fighting the wrong layer of the stack
minivmac is compiled to talk directly to ALSA, the low-level Linux audio API. My first instinct, and the internet's usual advice, was to fix sound through PipeWire and WirePlumber. None of it did anything, because minivmac never touches that layer. Old AUDIODEV environment variables were just as useless, an OSS-era relic the emulator doesn't read.
The fix was a hand-written /etc/asound.conf: a plug device with a route layer folding stereo down to mono for the single speaker and sending it to the USB card. My first attempt used ALSA's dmix, which looked like the standard approach and returned "invalid sample format" errors instead. Dropping it for the simpler chain solved it outright.
The hum was the amp, not the source
Testing headphones straight out of the USB dongle gave a clean signal, which put the noise on the PAM8403 board itself rather than anything upstream. Wrapping the amp in electrical tape cut it dramatically.
The illusion
An appliance, not a Linux box
A vintage Mac shouldn't show you a kernel boot log. Getting there was a stack of small fixes: stripping the scrolling console text out of cmdline.txt so nothing but the splash is ever visible, masking PackageKit so it stops raising update notifications, and setting a black wallpaper as a clean fallback.
The boot sequence needed choreography rather than just a splash screen. labwc's autostart launches minivmac in the foreground immediately, bypassing the file manager and panel completely. Linux only resurfaces if the emulator is closed, which under normal use never happens.
A boot theme worth looking at
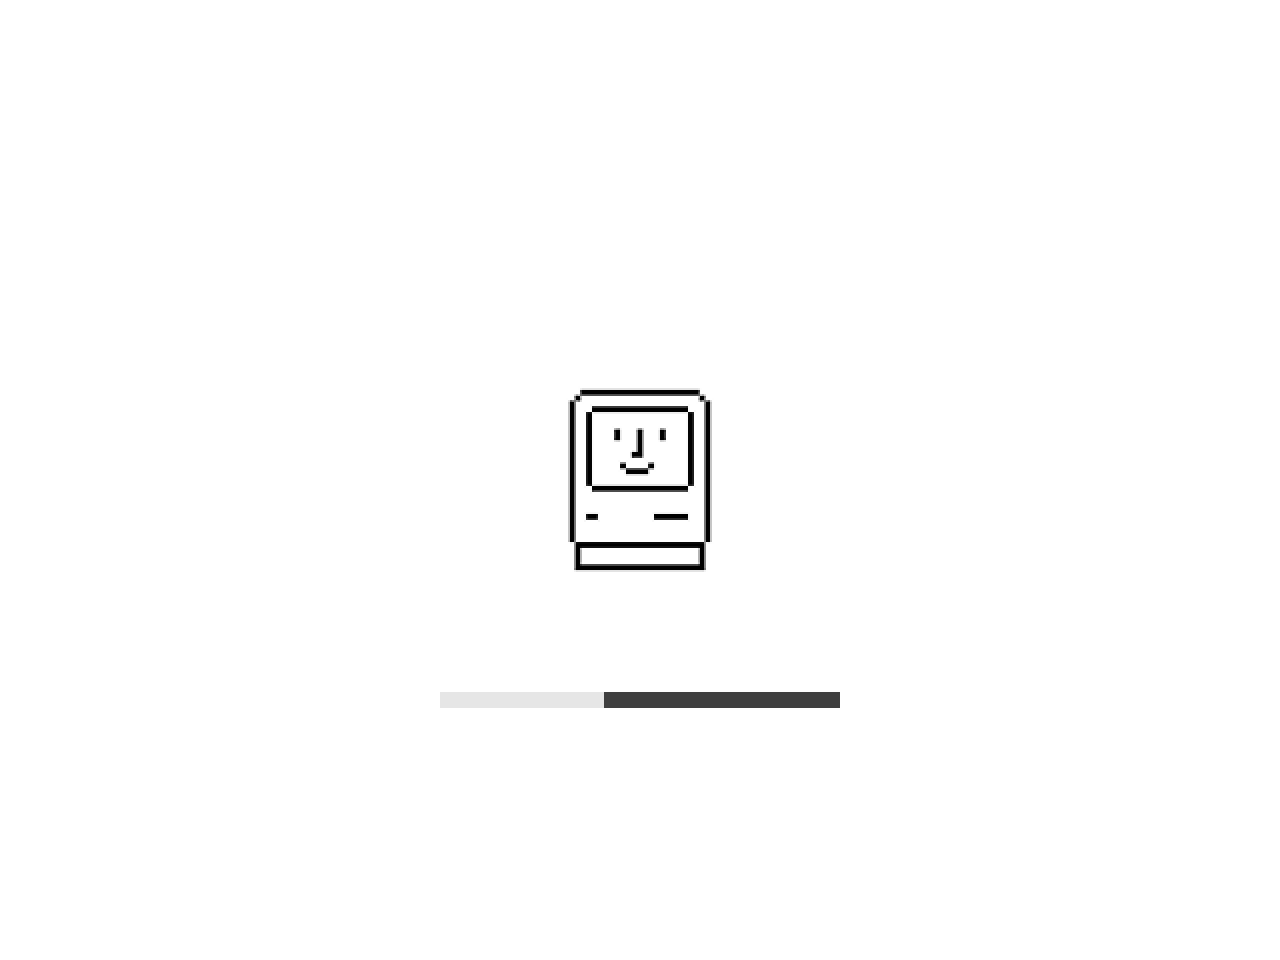
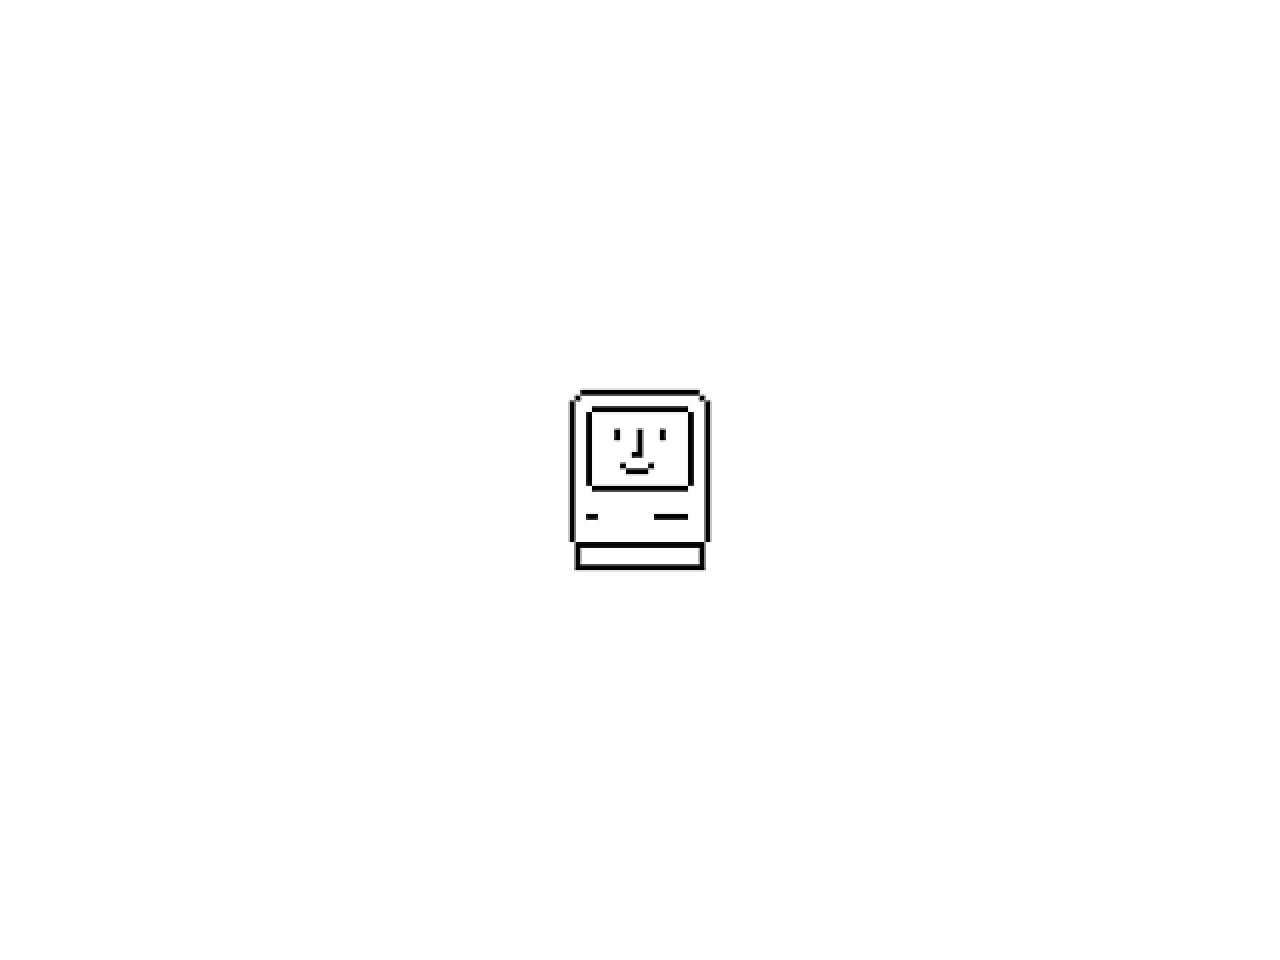
Rather than a stock splash, I started from navisjayaseelan's apple-mac-plymouth theme and rebuilt the image assets in Figma, including a black-and-white checkerboard background drawn faithfully to the original.
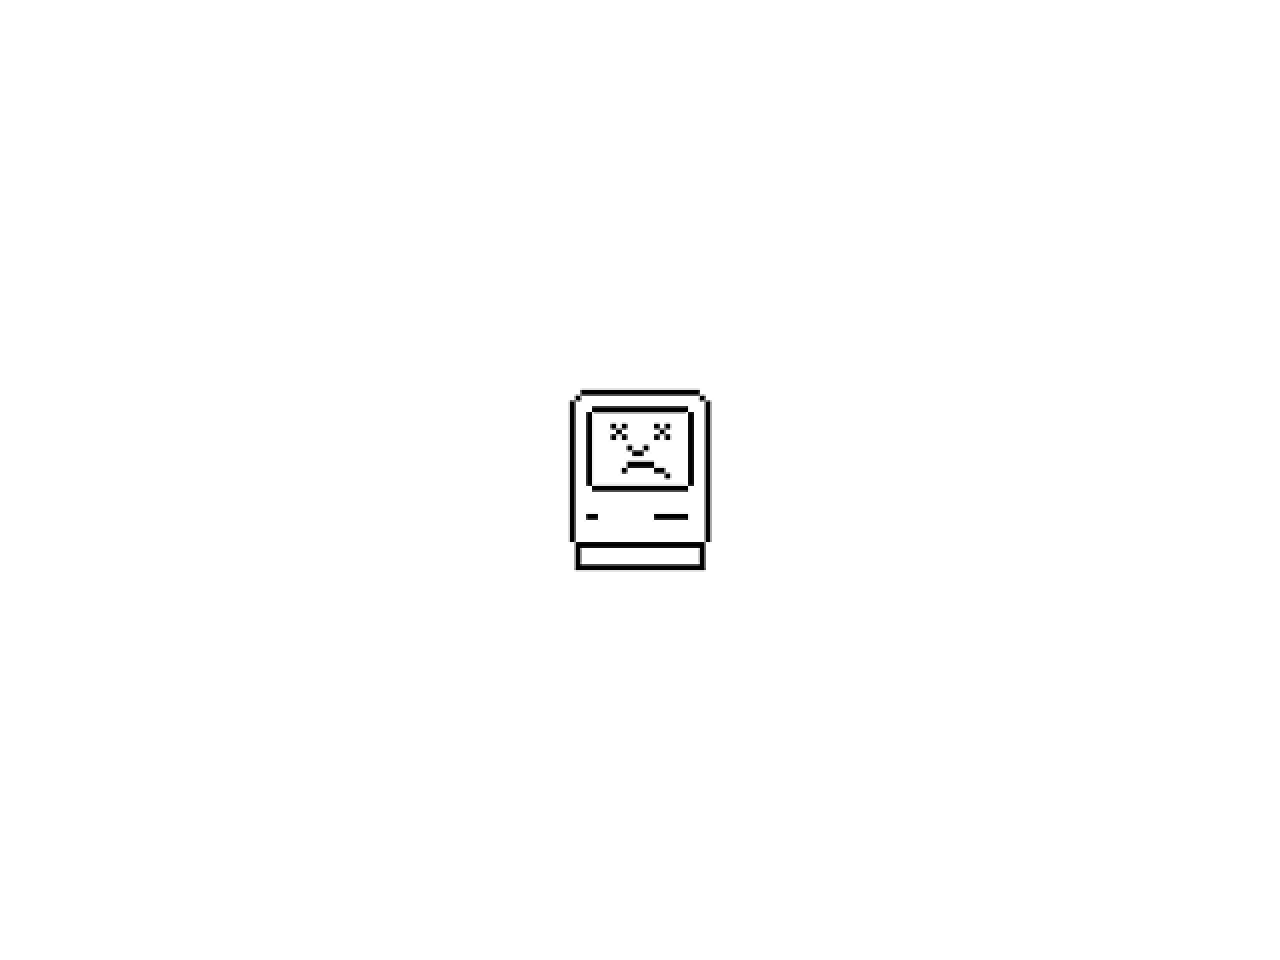
A Sad Mac on shutdown
A restart always shows the Happy Mac. Shutting down turns up the classic Sad Mac roughly half the time, so it stays a surprise. Pointless in the best way, and exactly the kind of detail that separates a machine with a personality from a Pi in a costume.
Limitations
What the platform wouldn't give up
Four things this machine will not do, and no amount of work was going to change two of them. They are worth stating plainly, since the workarounds are what's actually running.
The cursor won't hide
Hiding the mouse pointer should be the easiest item on the list. unclutter is the standard Linux tool for it and does nothing here, because it depends on X11 behavior that Wayland and labwc no longer provide.
No startup dong, ever
The chime and the color depth come from the same ROM. Choosing the Mac II for a color System 7.1 desktop means this machine can never make the one sound people expect a Macintosh to make, and choosing the dong would have meant giving up color entirely.
The hum is quieter, not gone
Wrapping the PAM8403 in electrical tape cut the noise a long way down, but it is still there under the audio if you listen for it. The amp is the source and shielding only attenuates it.
Rotation is faked, not solved
Rotating the panel properly at the driver level never worked. Repositioning the loading bar and pre-rotating the boot images gets the same result on screen, but the display is still running in its native orientation underneath.
Outcome
Fix it at the layer that's responsible
The machine boots, displays, and plays sound, the GPIO controls work, and the emulator produces the expected Mac II chord on startup.
The recurring lesson arrived over and over in different clothes: fix problems at the layer that's actually responsible, not the layer that's easiest to blame. PipeWire looked like the audio culprit. dmix looked like the correct ALSA approach. The USB dongle looked like the source of the hum. None of them were. Every real fix came from tracing the signal or the code path back to where it started instead of patching the nearest visible symptom.
It's a small machine, and none of it was easy. Making it behave like a genuine miniature Macintosh Classic, a dedicated appliance that looks like it always worked this way, came down to the small details that were worth taking the extra time for.
Thanks
The help that made this possible
This build leans on five people. Without the work they shared, it would either not exist or would have taken far longer to get running.
Matt Jubinsky
Soldering. My brother did the amp board, speaker, encoder, two buttons, and USB-C power into the unit, on joints small enough that a bad one means a teardown to reach. Two rounds to get them right, and he tested continuity across the connections.
Gerry Gonzalez
3D printing. He printed every revision of the display bracket, including the ones that turned out to be wrong, until the fit was right.
navisjayaseelan
The Plymouth boot theme behind this machine's splash screens.
apple-mac-plymouth on GitHubThisDoesNotCompute
The initial setup this build followed, and the original bracket design behind its enclosure.
wondermac on GitHubThe video that started it
ThisDoesNotCompute again, and the inspiration for the whole build.
Watch on YouTube